Project Alaska
The current build that I'm working on I've decided to name Project Alaska. The name comes from the idea that water cooling my computer should get the operating temperatures of the components much lower than I've ever had them before (if my original build had a name it would've likely been called Arizona due to the heat it put off). I'm going to be using this page to document the progress of the build. A timelapse video would've been a better choice but that wouldn't allow me to make the website I've started.
May 08, 2017 - Build Teardown

My cube shaped Micro ATX build.
The first step in building any computer where you need to use old parts is to get the parts out of the current one. This was fairly easy and wasn't a pain for the most part since the old case had tons of room, everything was easy to access even if I didn't do too hot on cable management. Everything I didn't need just got left in the case and is currently still on my floor.
May 08, 2017 - GPU Teardown
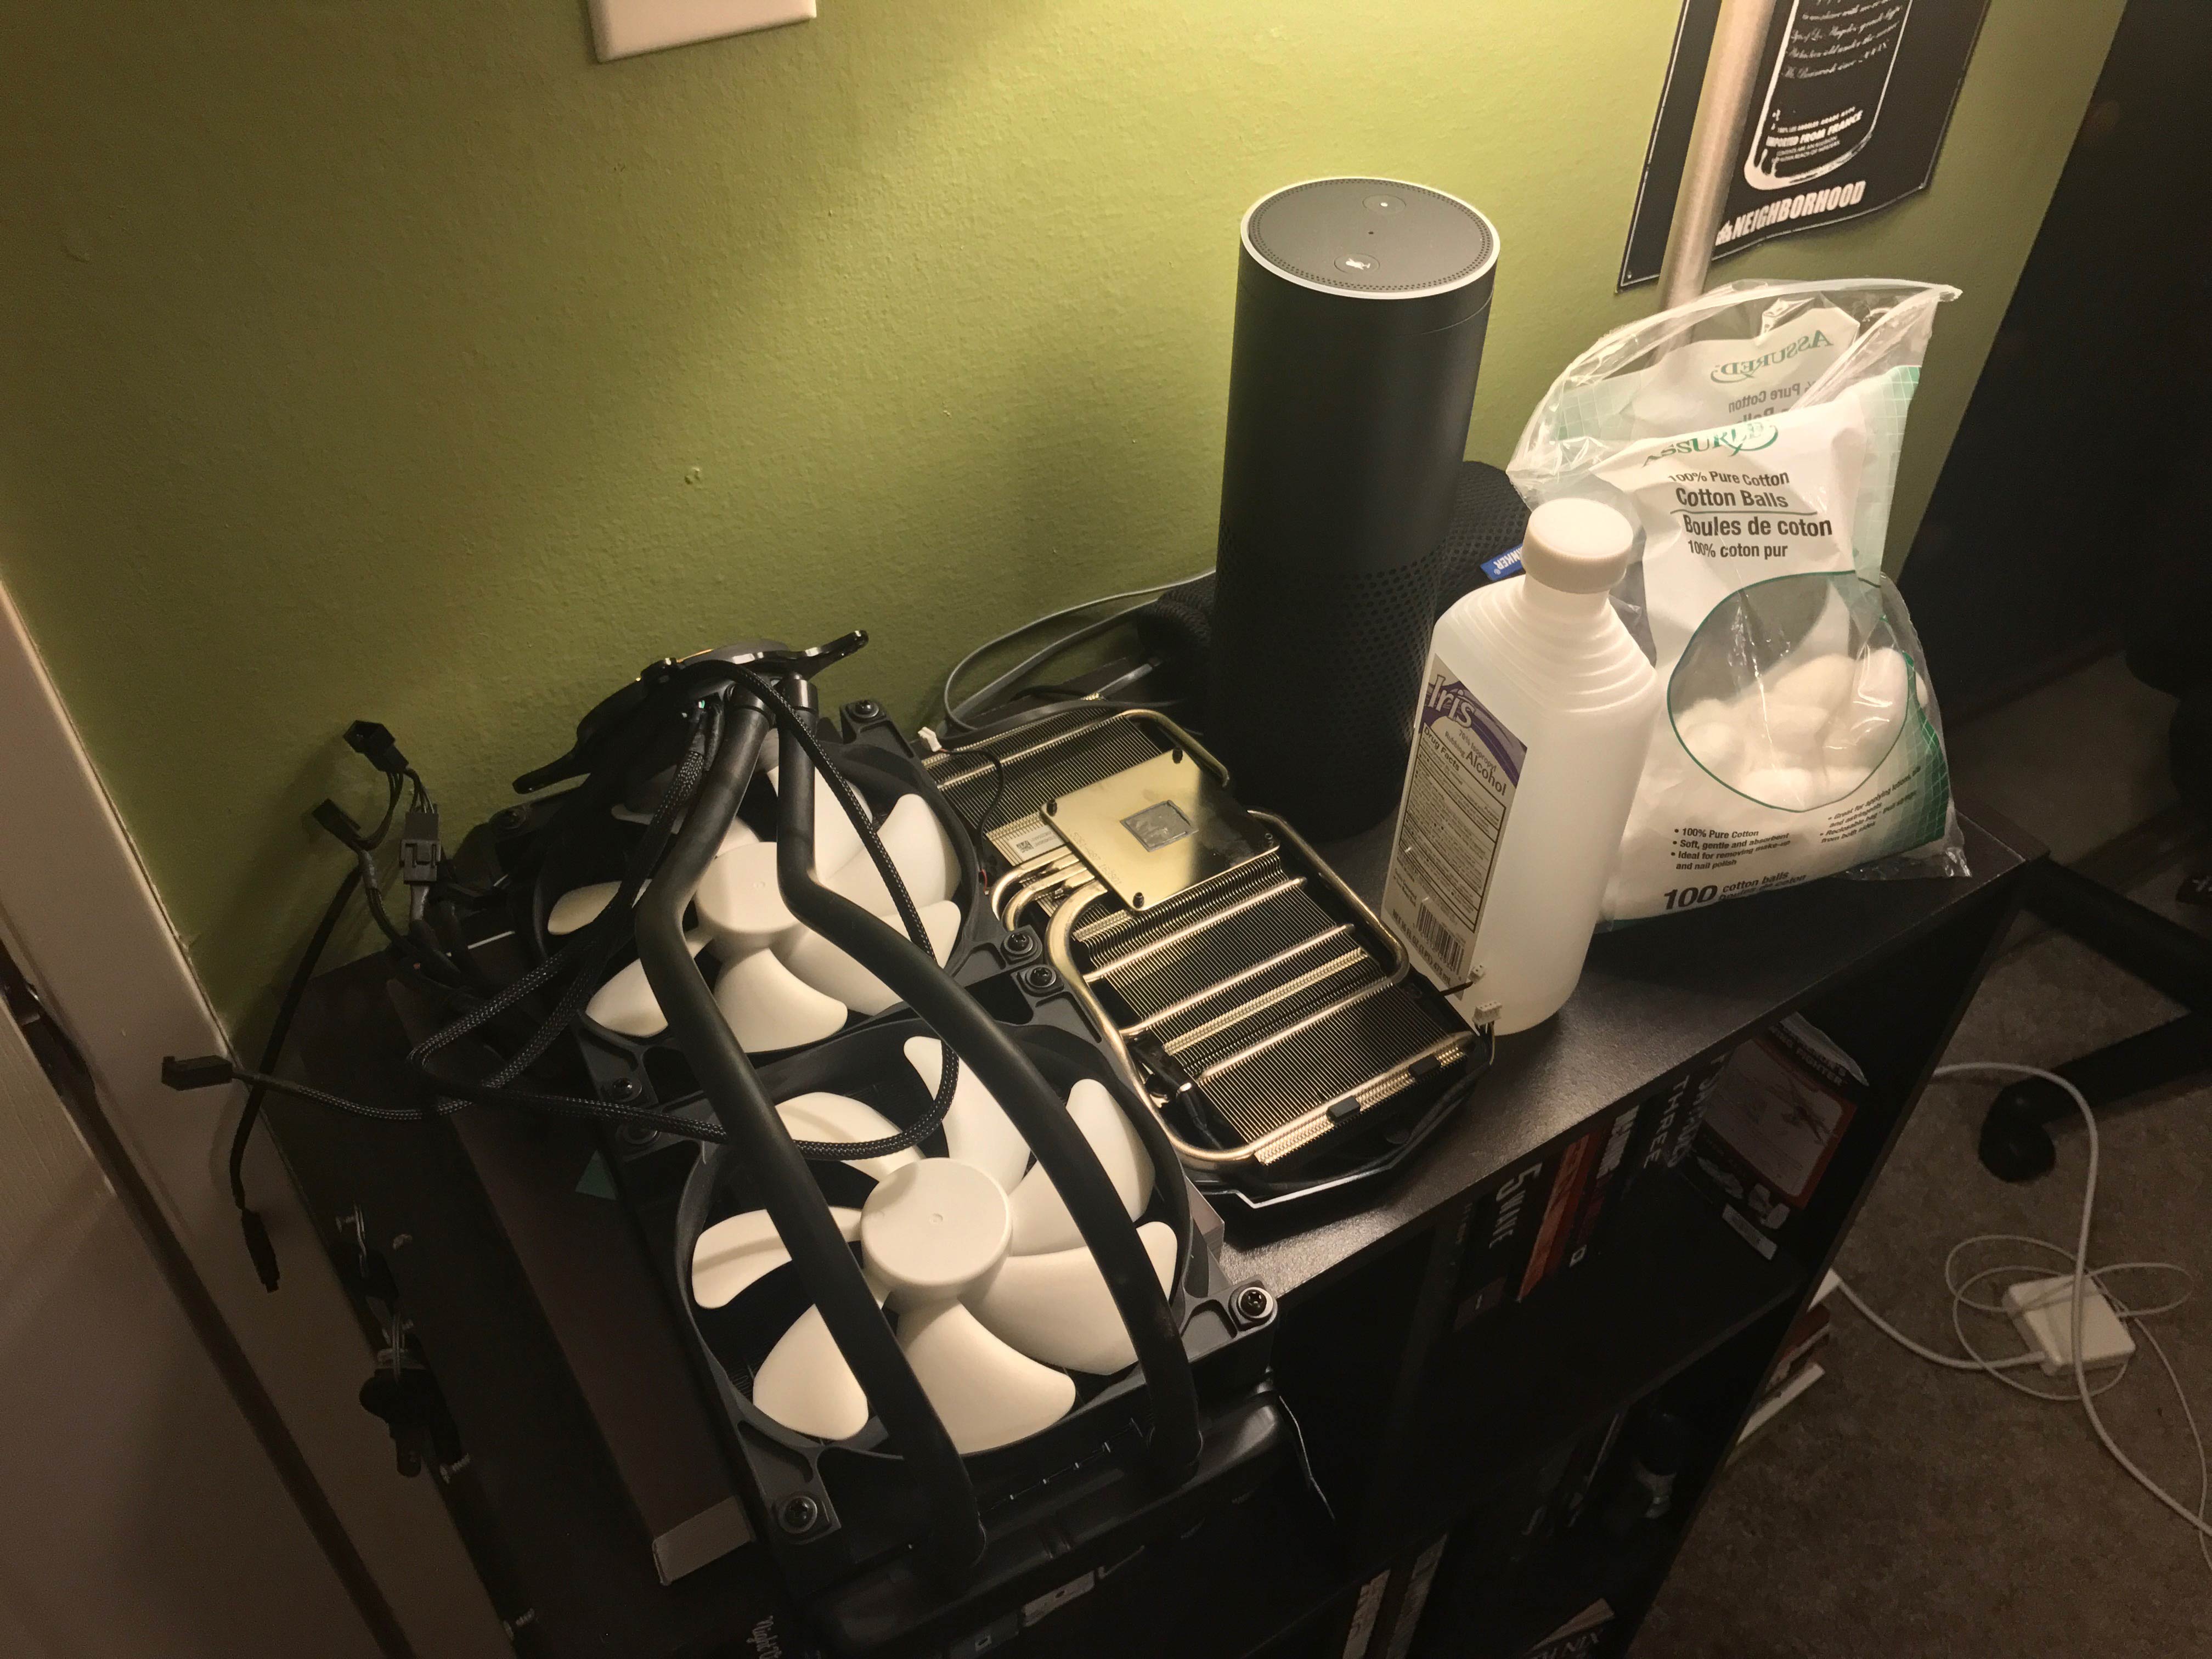
Running low on space.
When water cooling a computer you need to purchase waterblocks. One for the CPU and one for the GPU, or a card with a block pre installed, so that you can have the heat produced by the die be spread across a larger surface to be taken away with the water being pumped through it. I went with EK because they're one of the top manufacturers of water cooling products, along with the clean aesthetic that the blocks have.
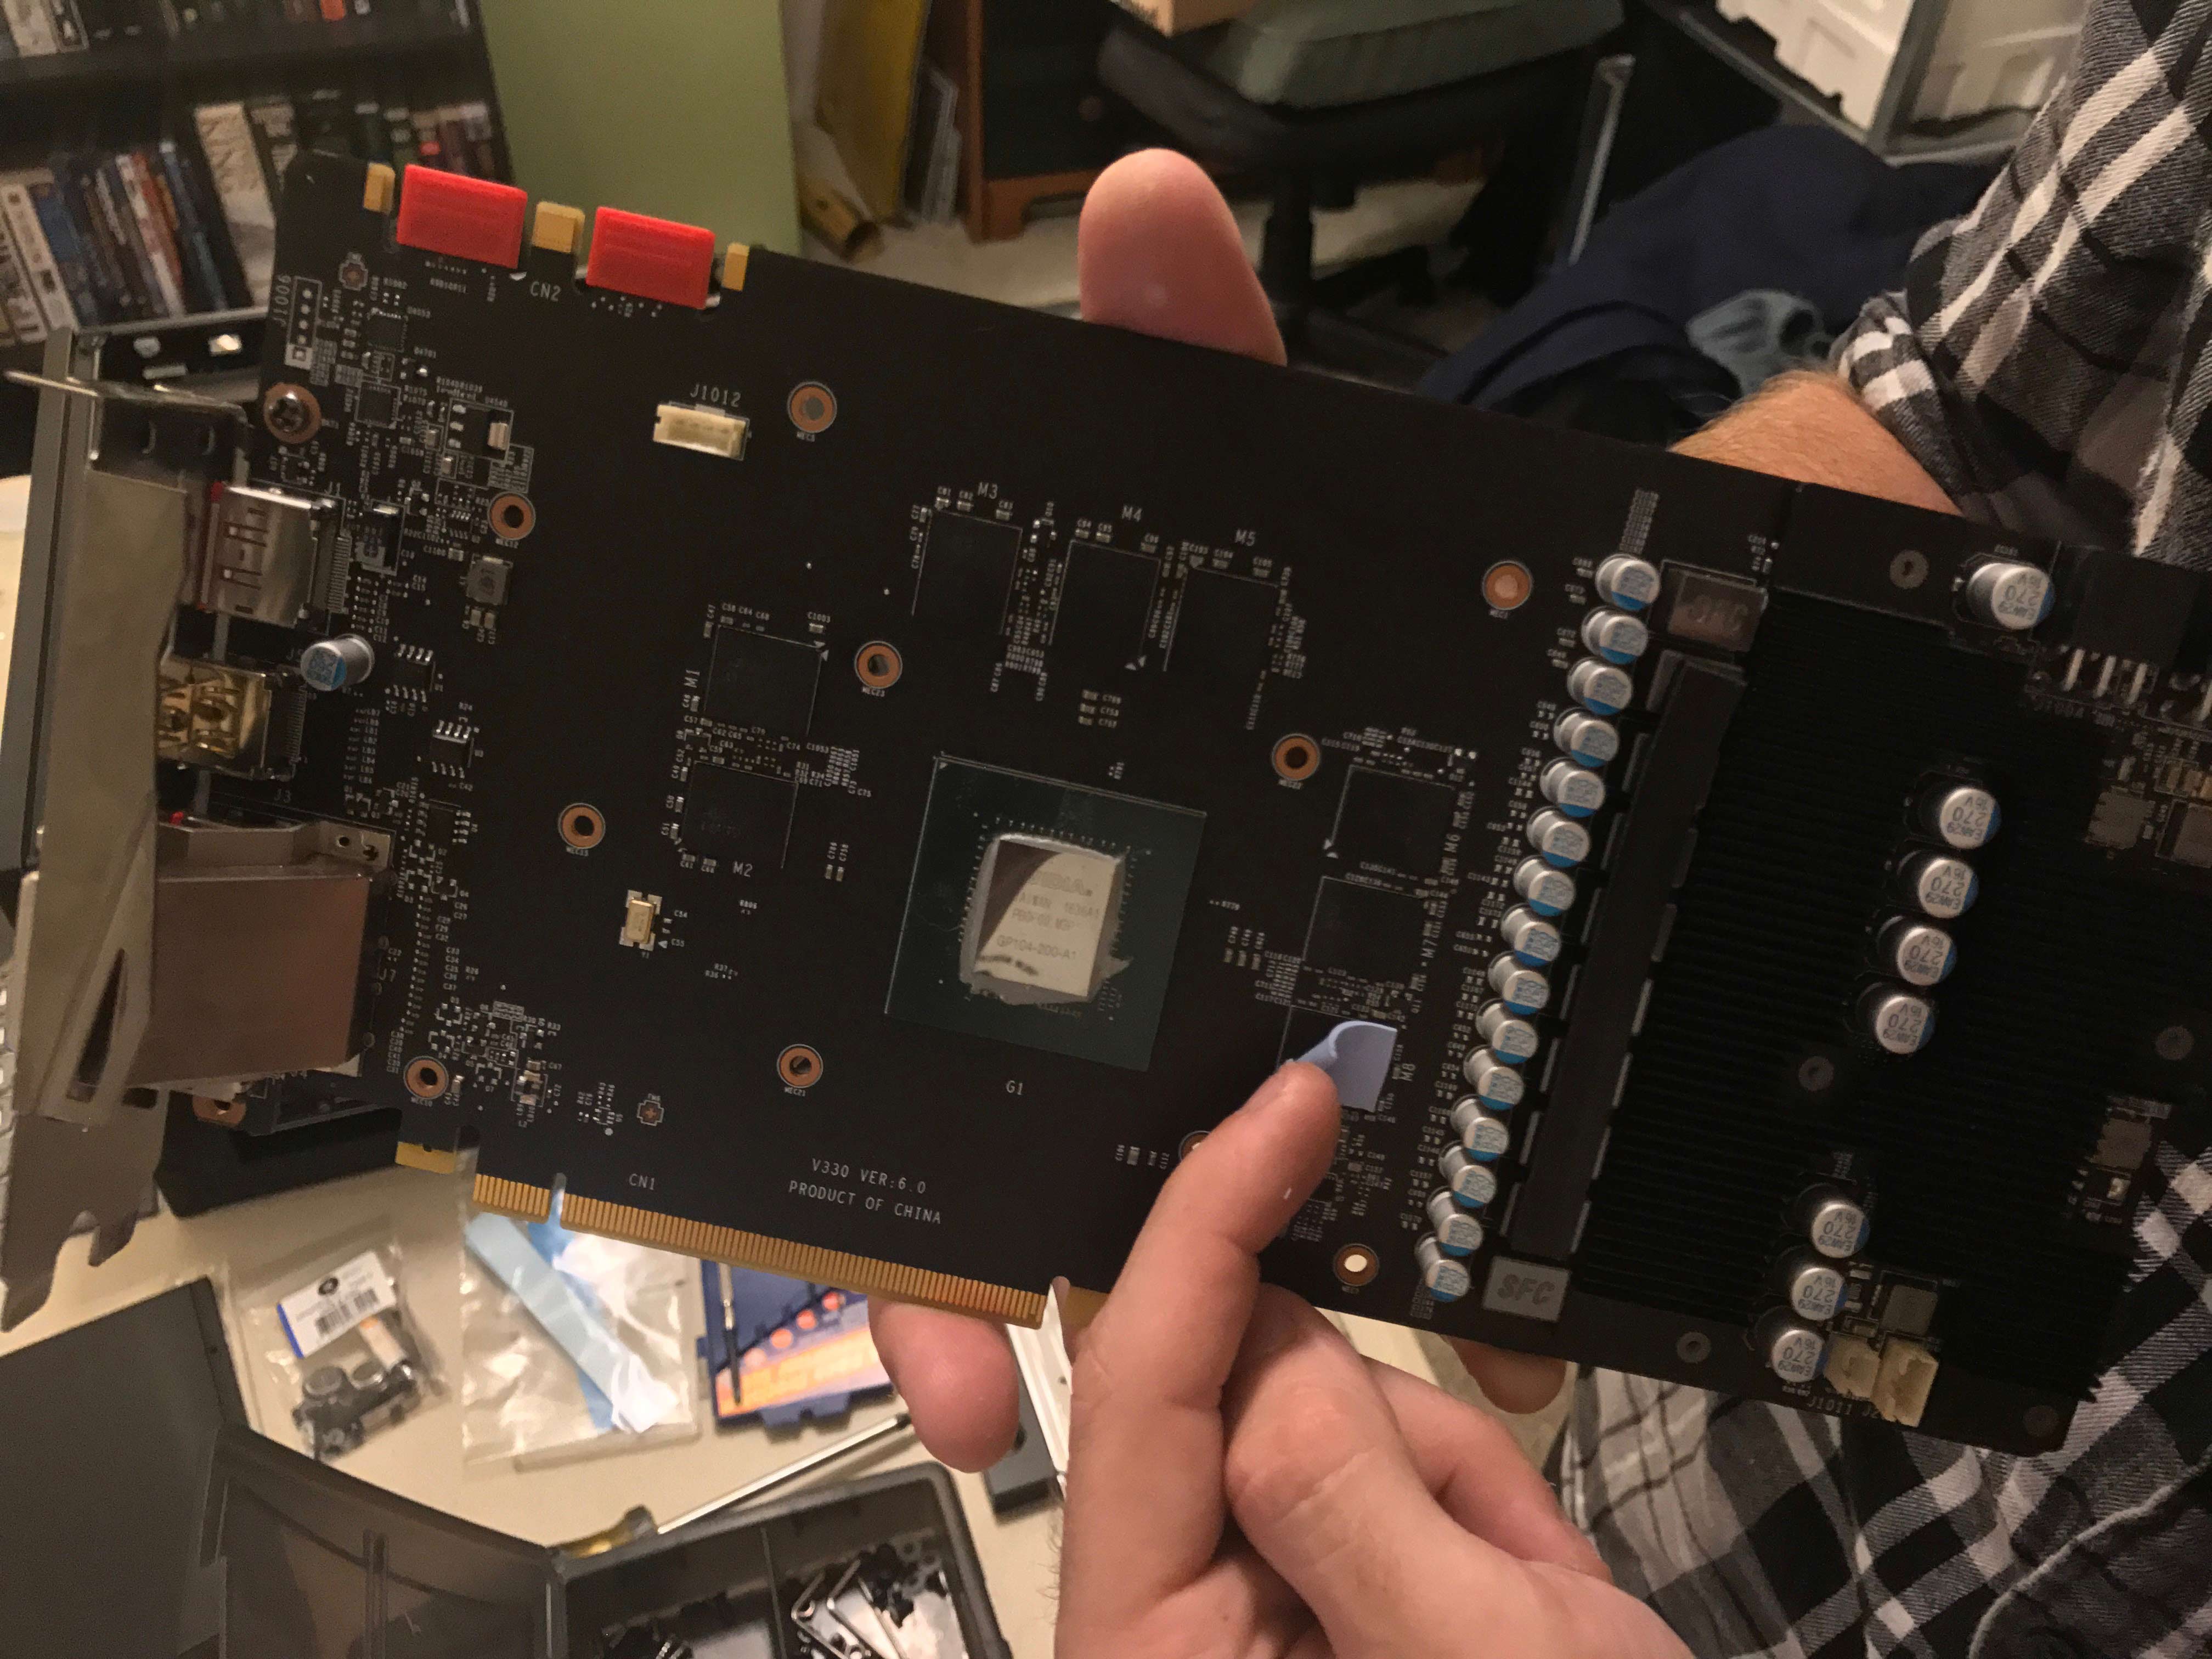
GTX 1070 without a heatsink.
The teardown went well overall and the directions were pretty straightforward, but due to the TF6 block and backplate fitting a variety of MSI cards there was confusion at time because I had more hardware than was needed. It took maybe one hour total to disassemble the GTX 1070 and reassemble it with the new waterblock. It was pretty stressful though.
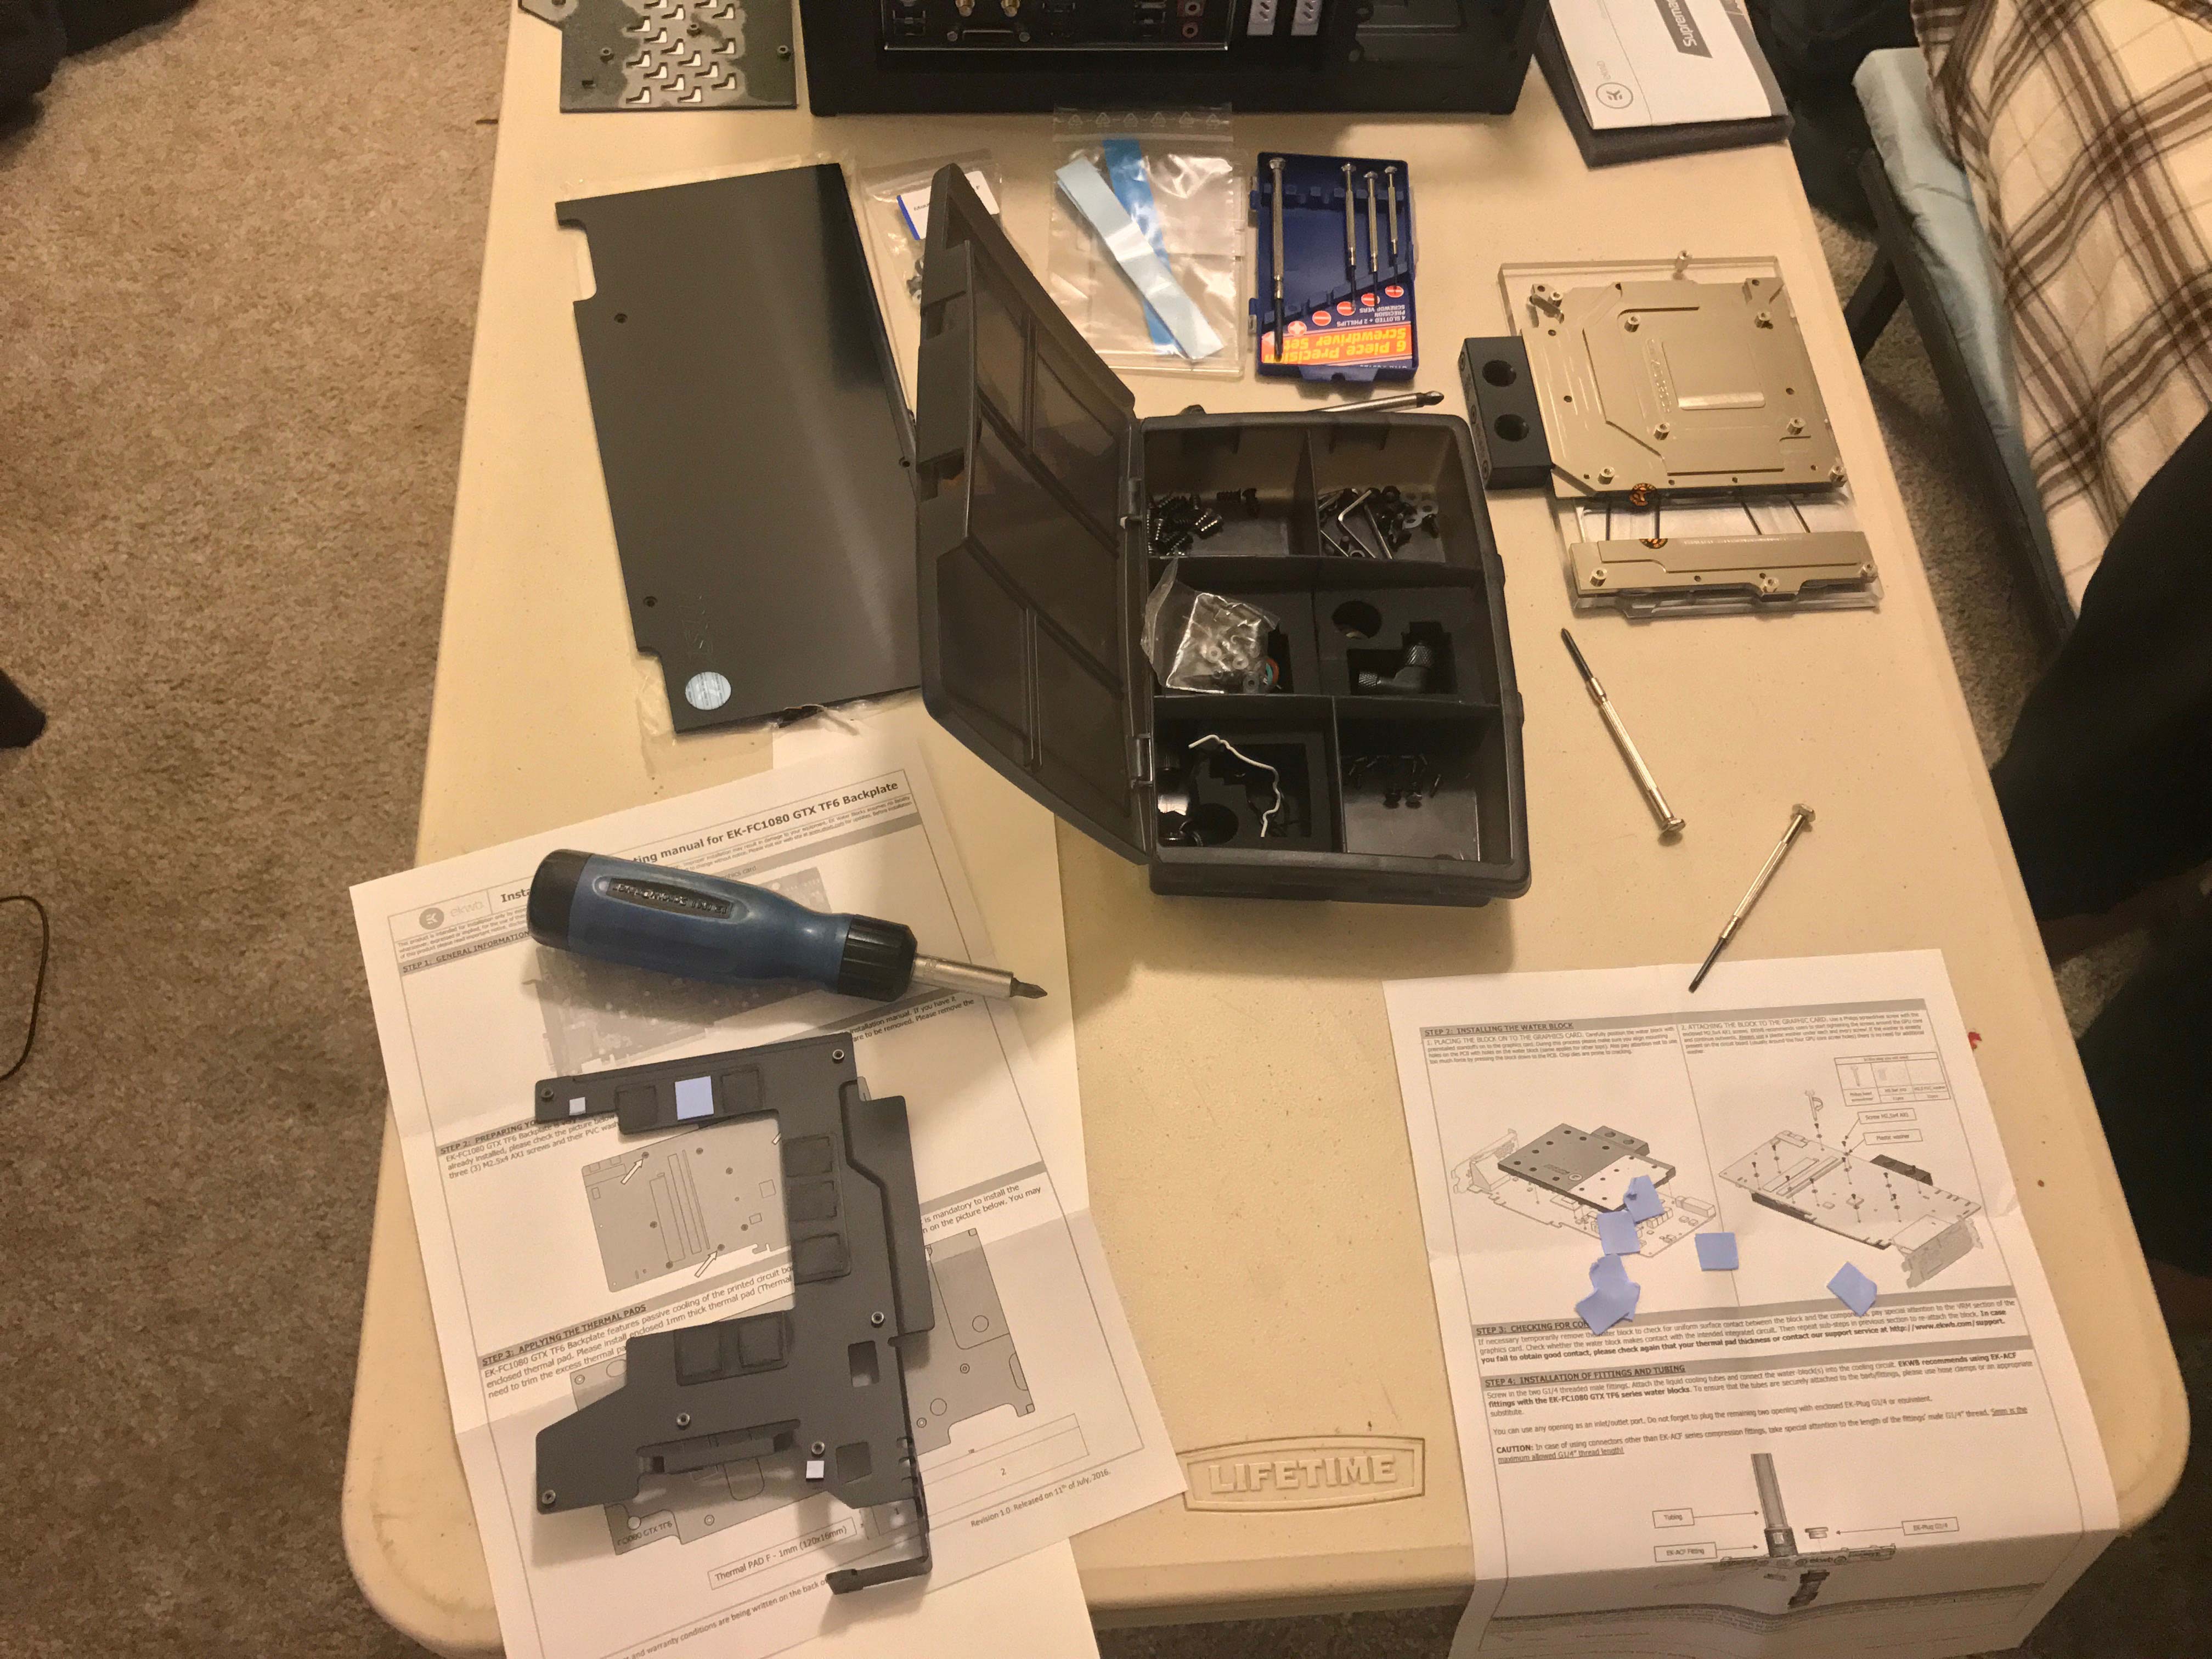
Without instructions I'd have gotten nowhere.
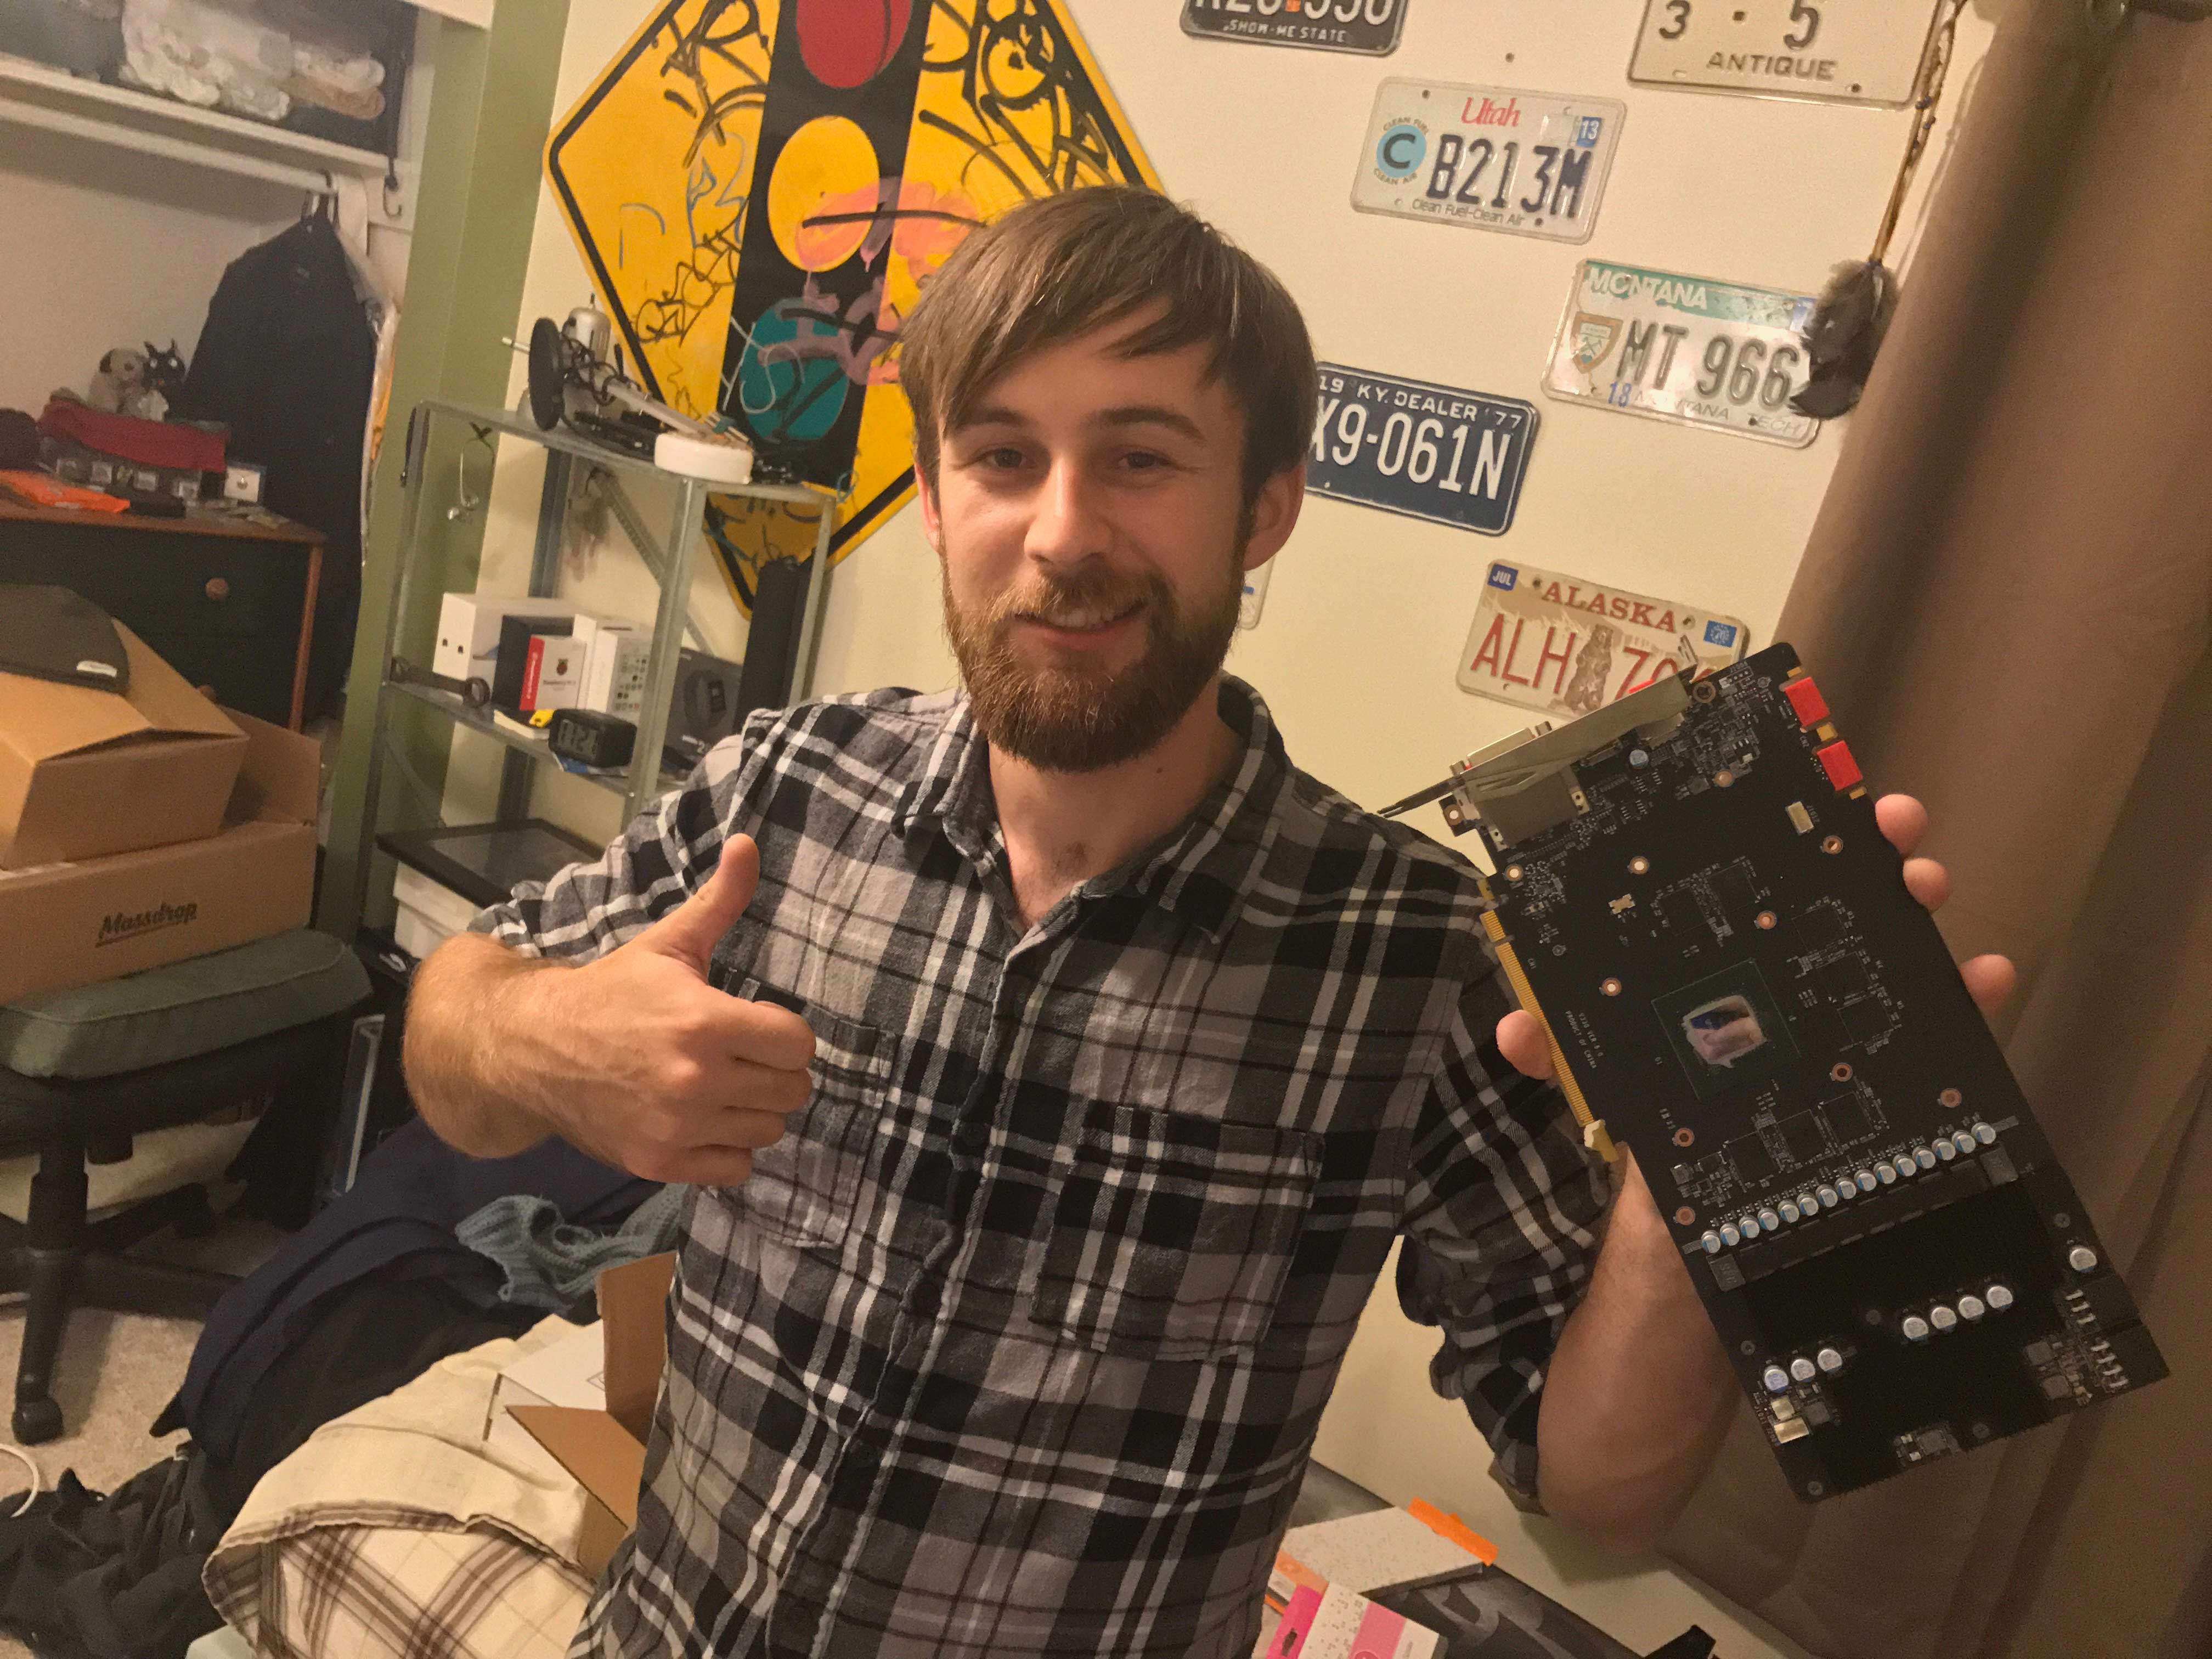
My friend Nathan helping out.
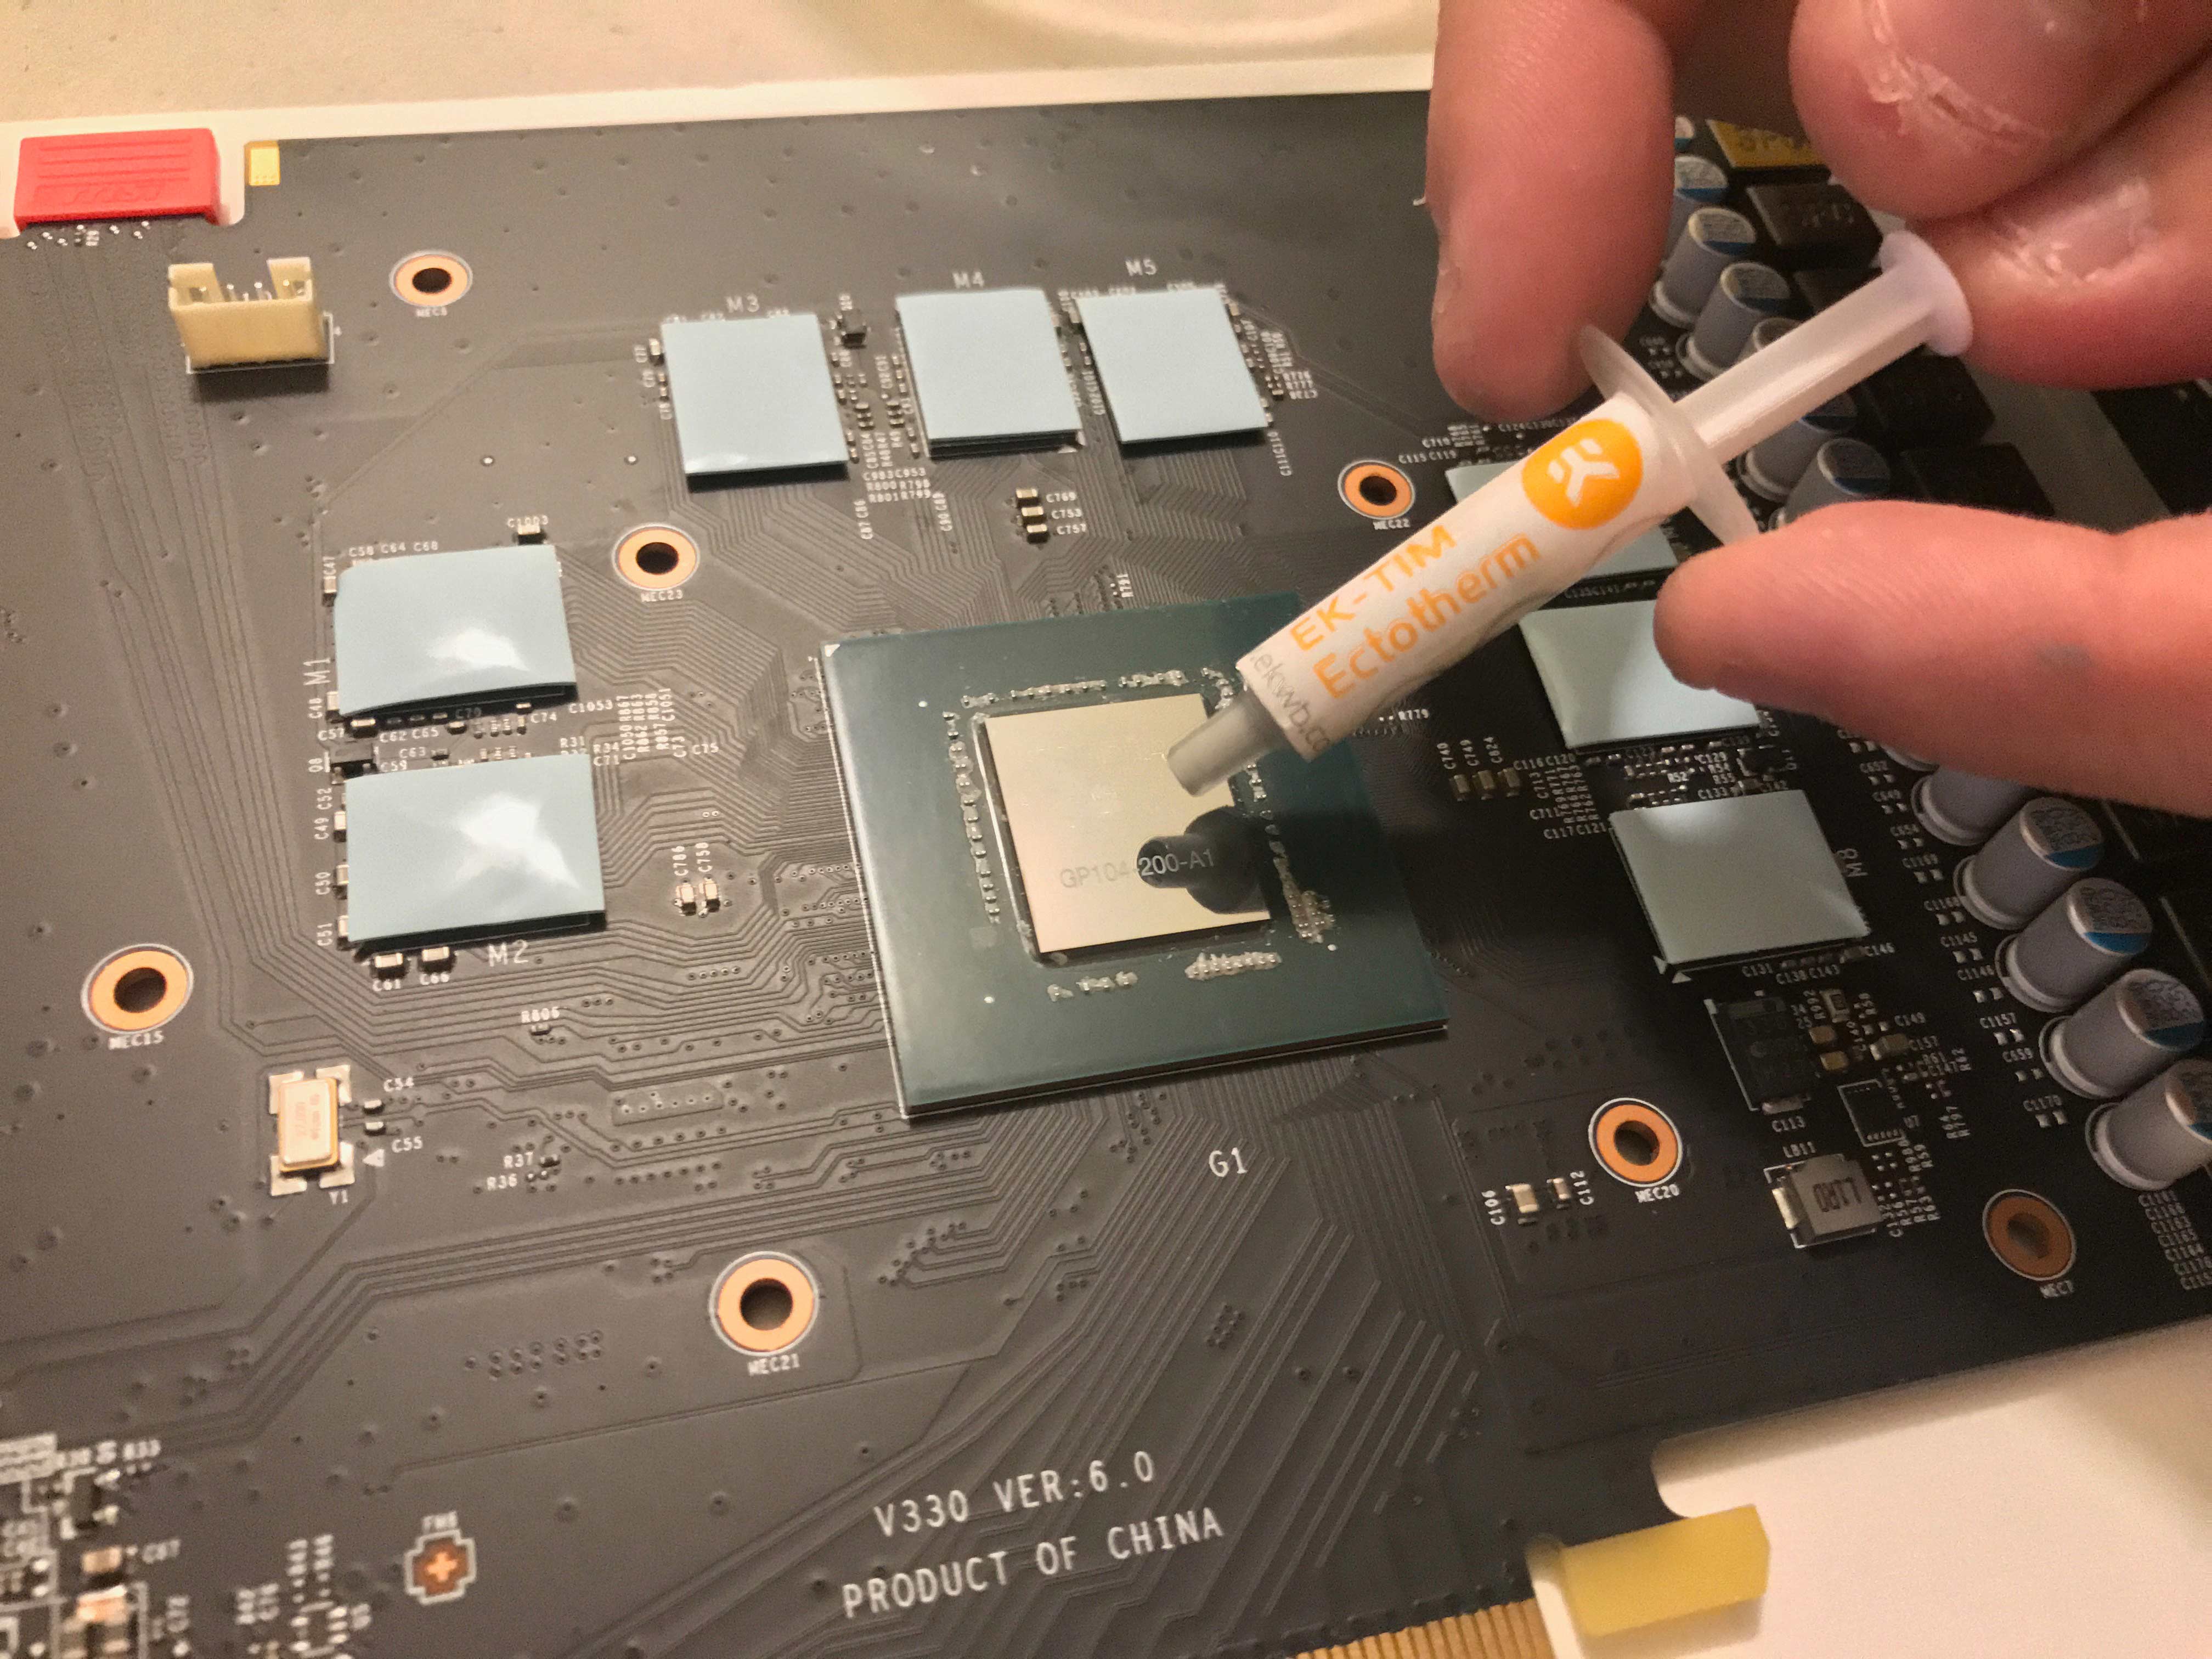
Thermal paste being applied to the die.
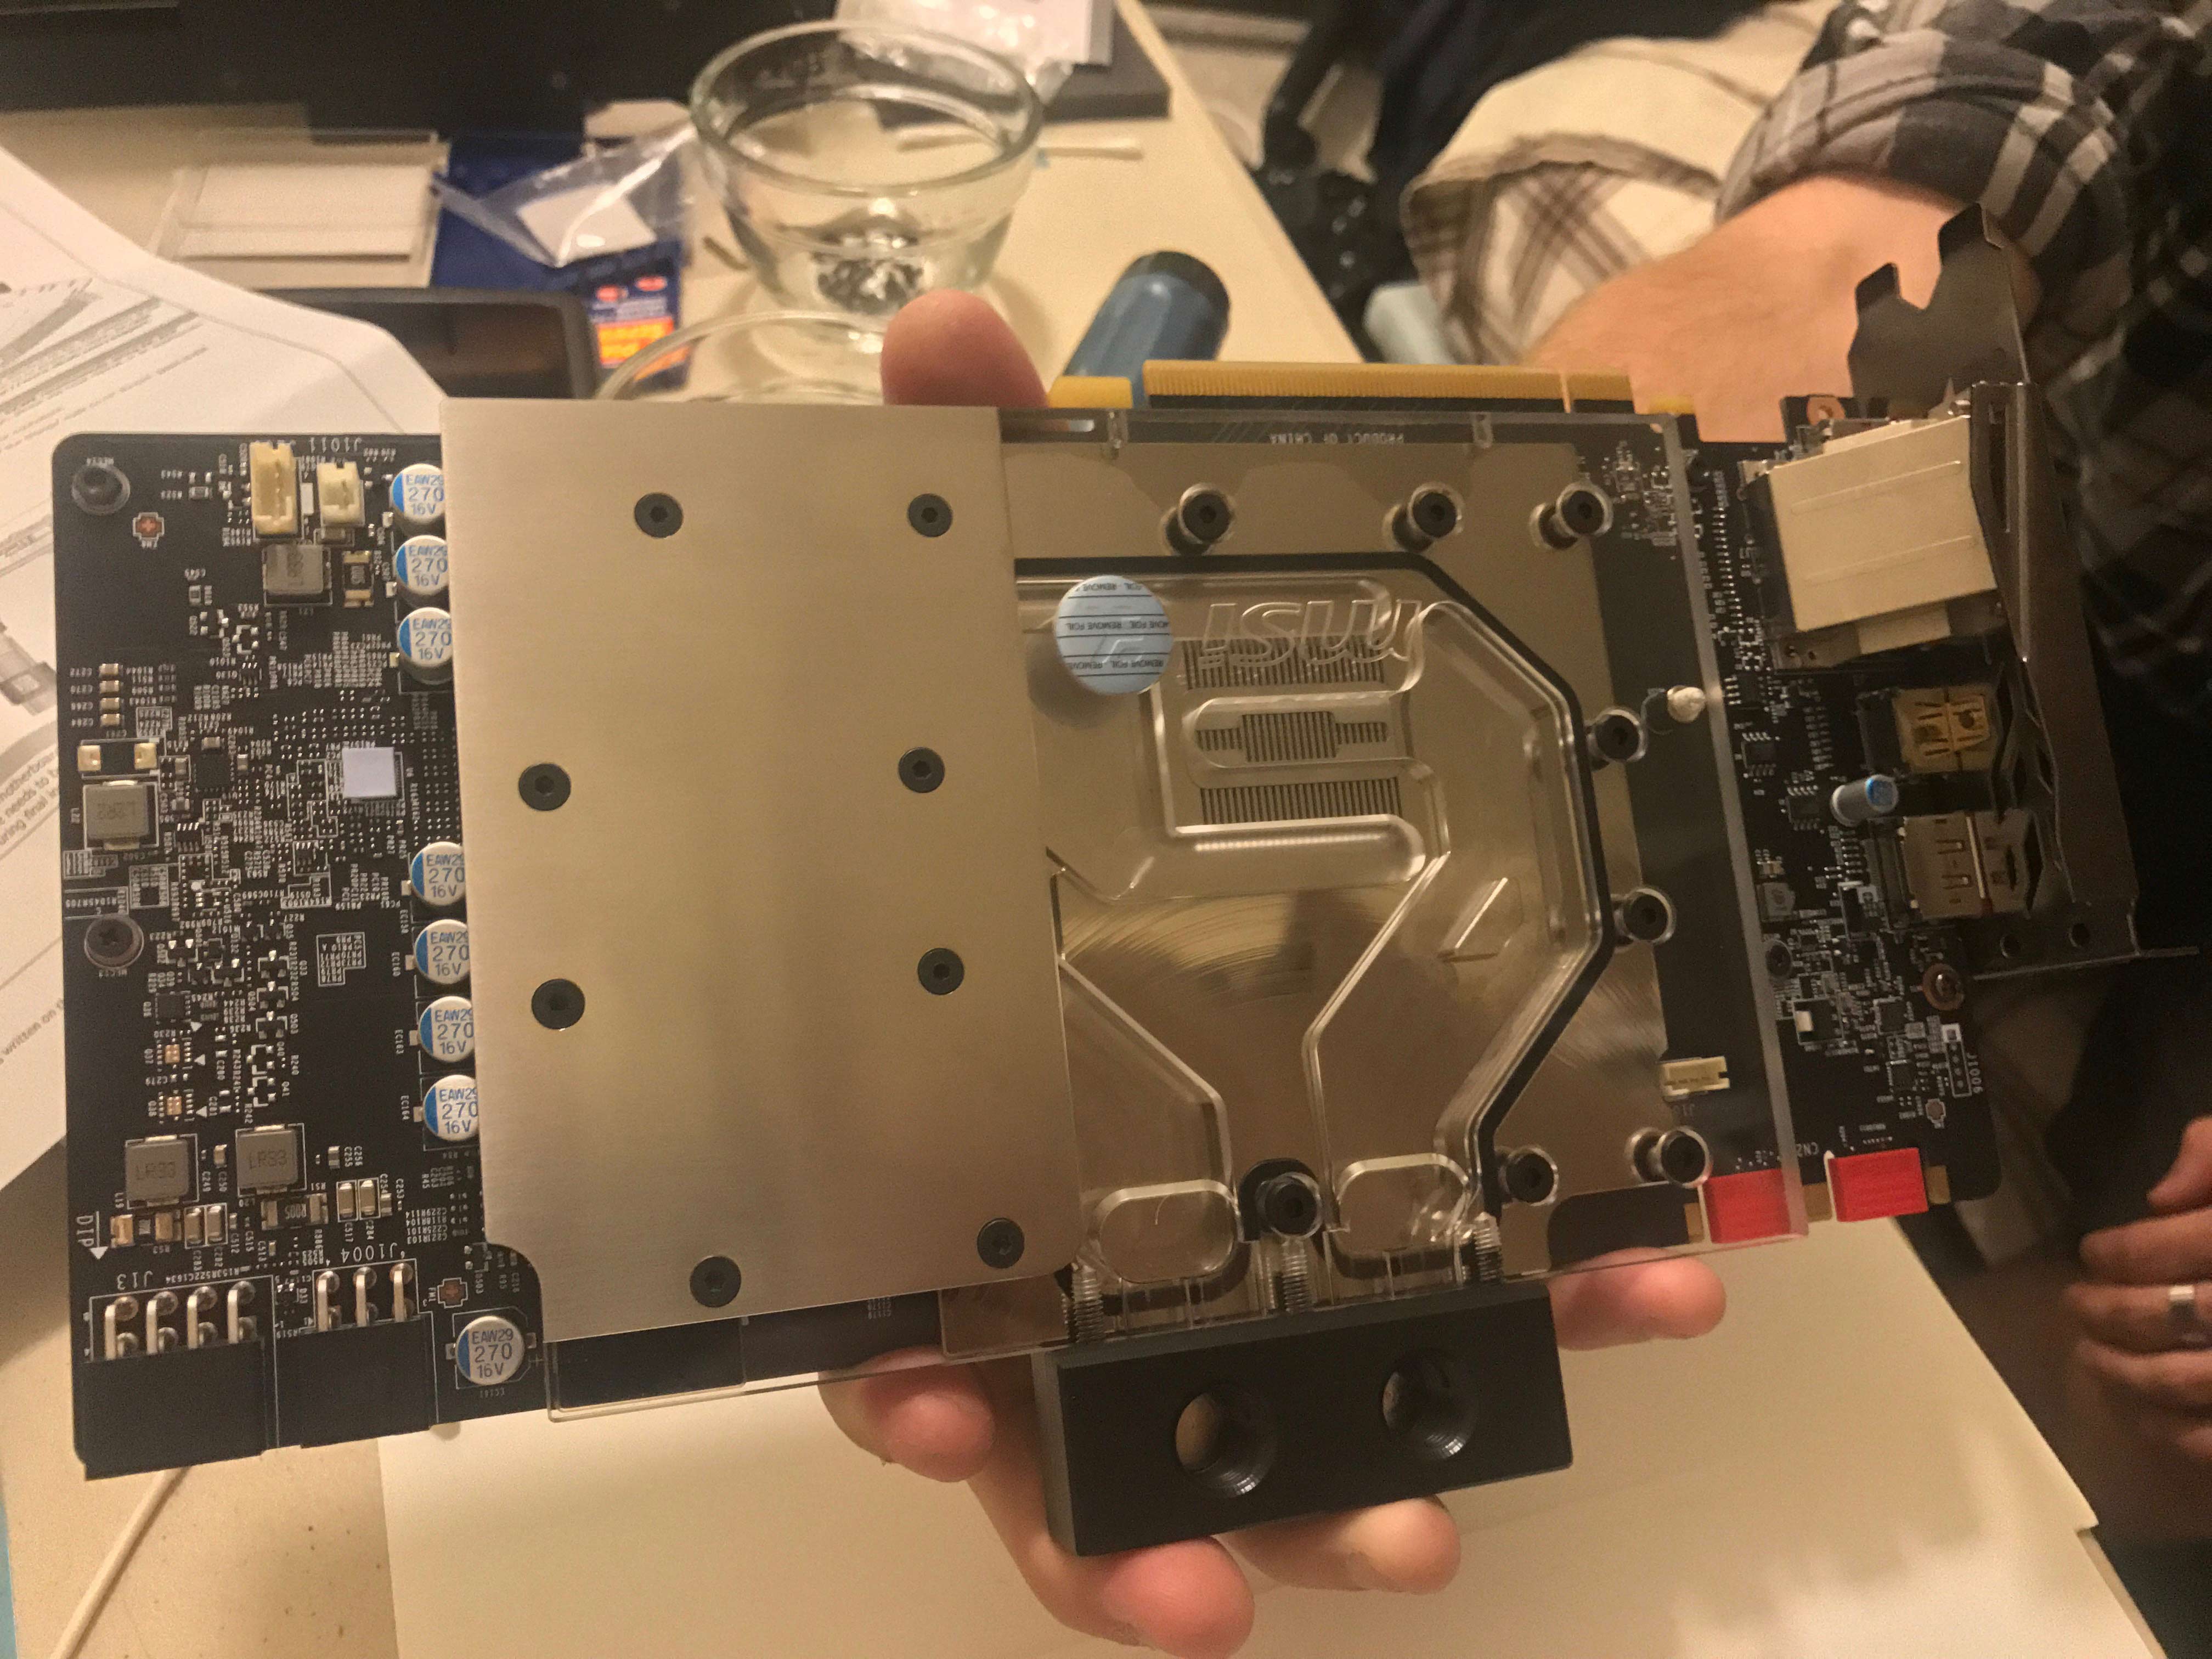
The TF6 waterblock is now installed!
May 09, 2017 - Putting the Puzzle Together
Once we tore the computer apart, we were able to begin putting it back together. A lot of the things were easy and normal install type things. Cable management was a breeze, so was connecting everything and dropping the RAM into place. Sometimes there were problems though, a big issue at the start was that the surface area of the CPU block was going to come into contact with some capacitors although I managed to solve it by keeping the block itself as far to the right as possible (the capacitors still touch it, but they're not getting smashed), and there were some smaller issues like fan cables not being long enough that were solved with getting extensions for it. Aside from those speedbumps everything fit like a glove.
The CPU has been transplanted and cleaned.
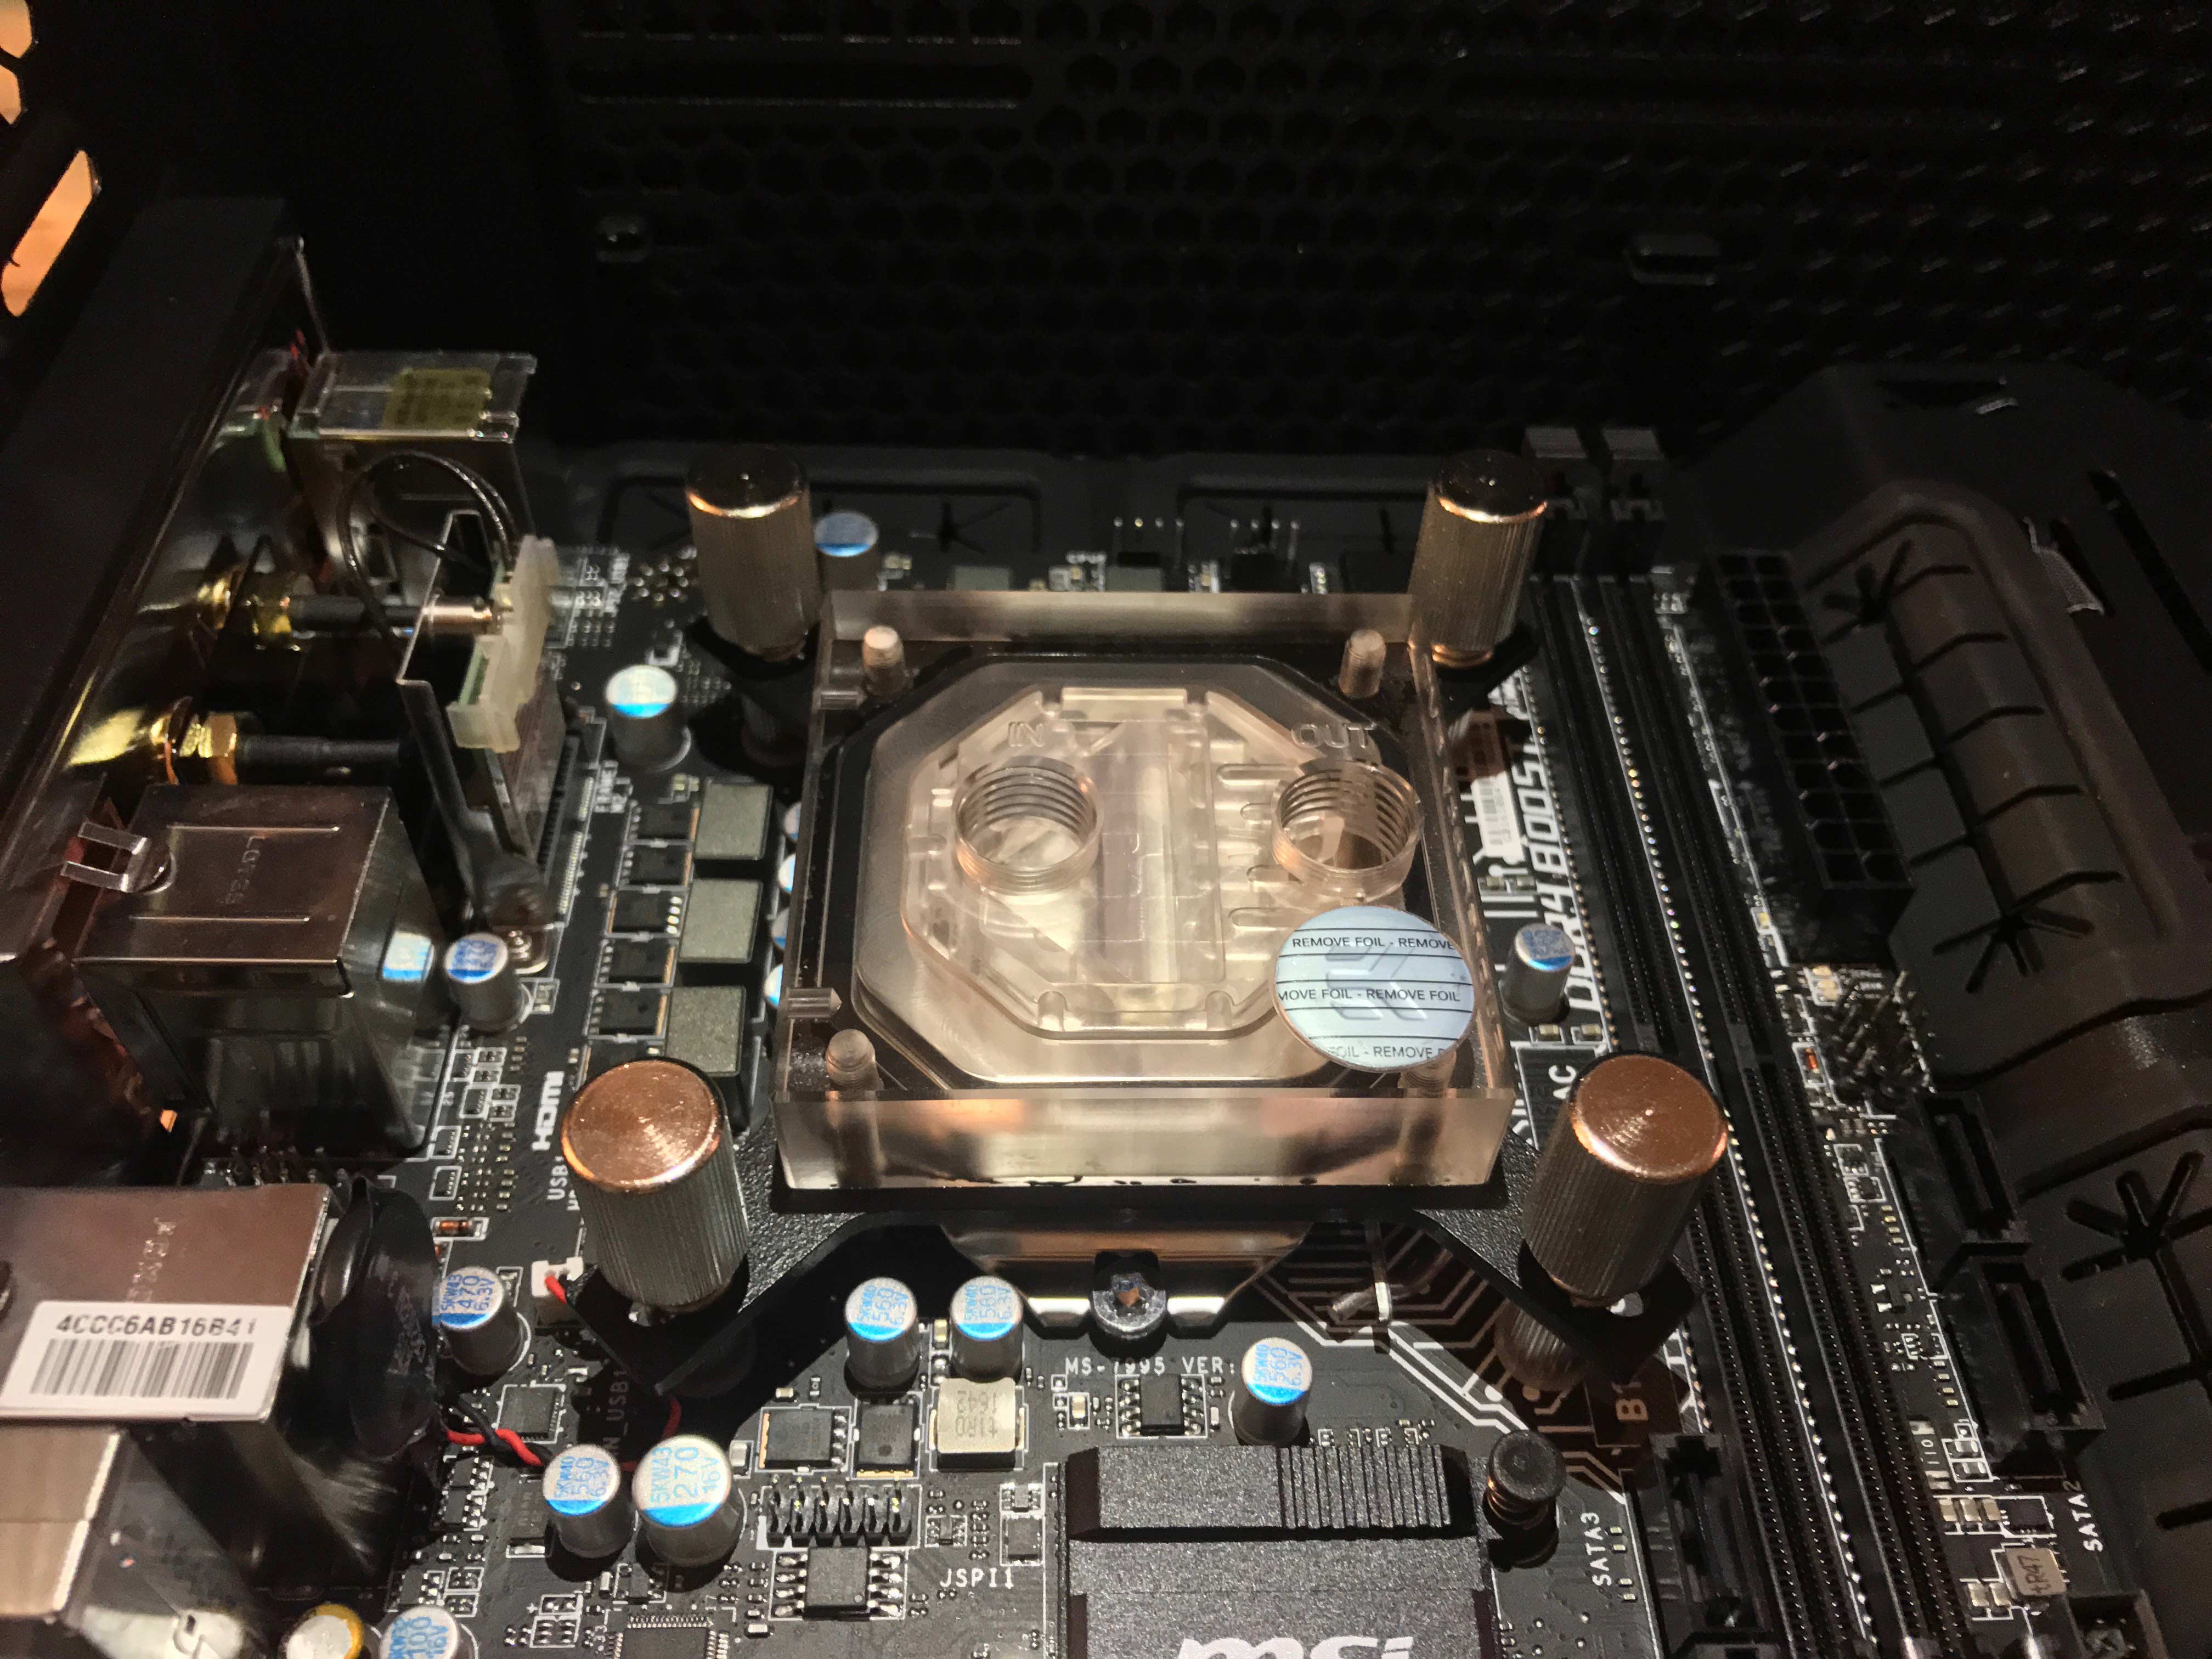
Supremacy EVO installed!
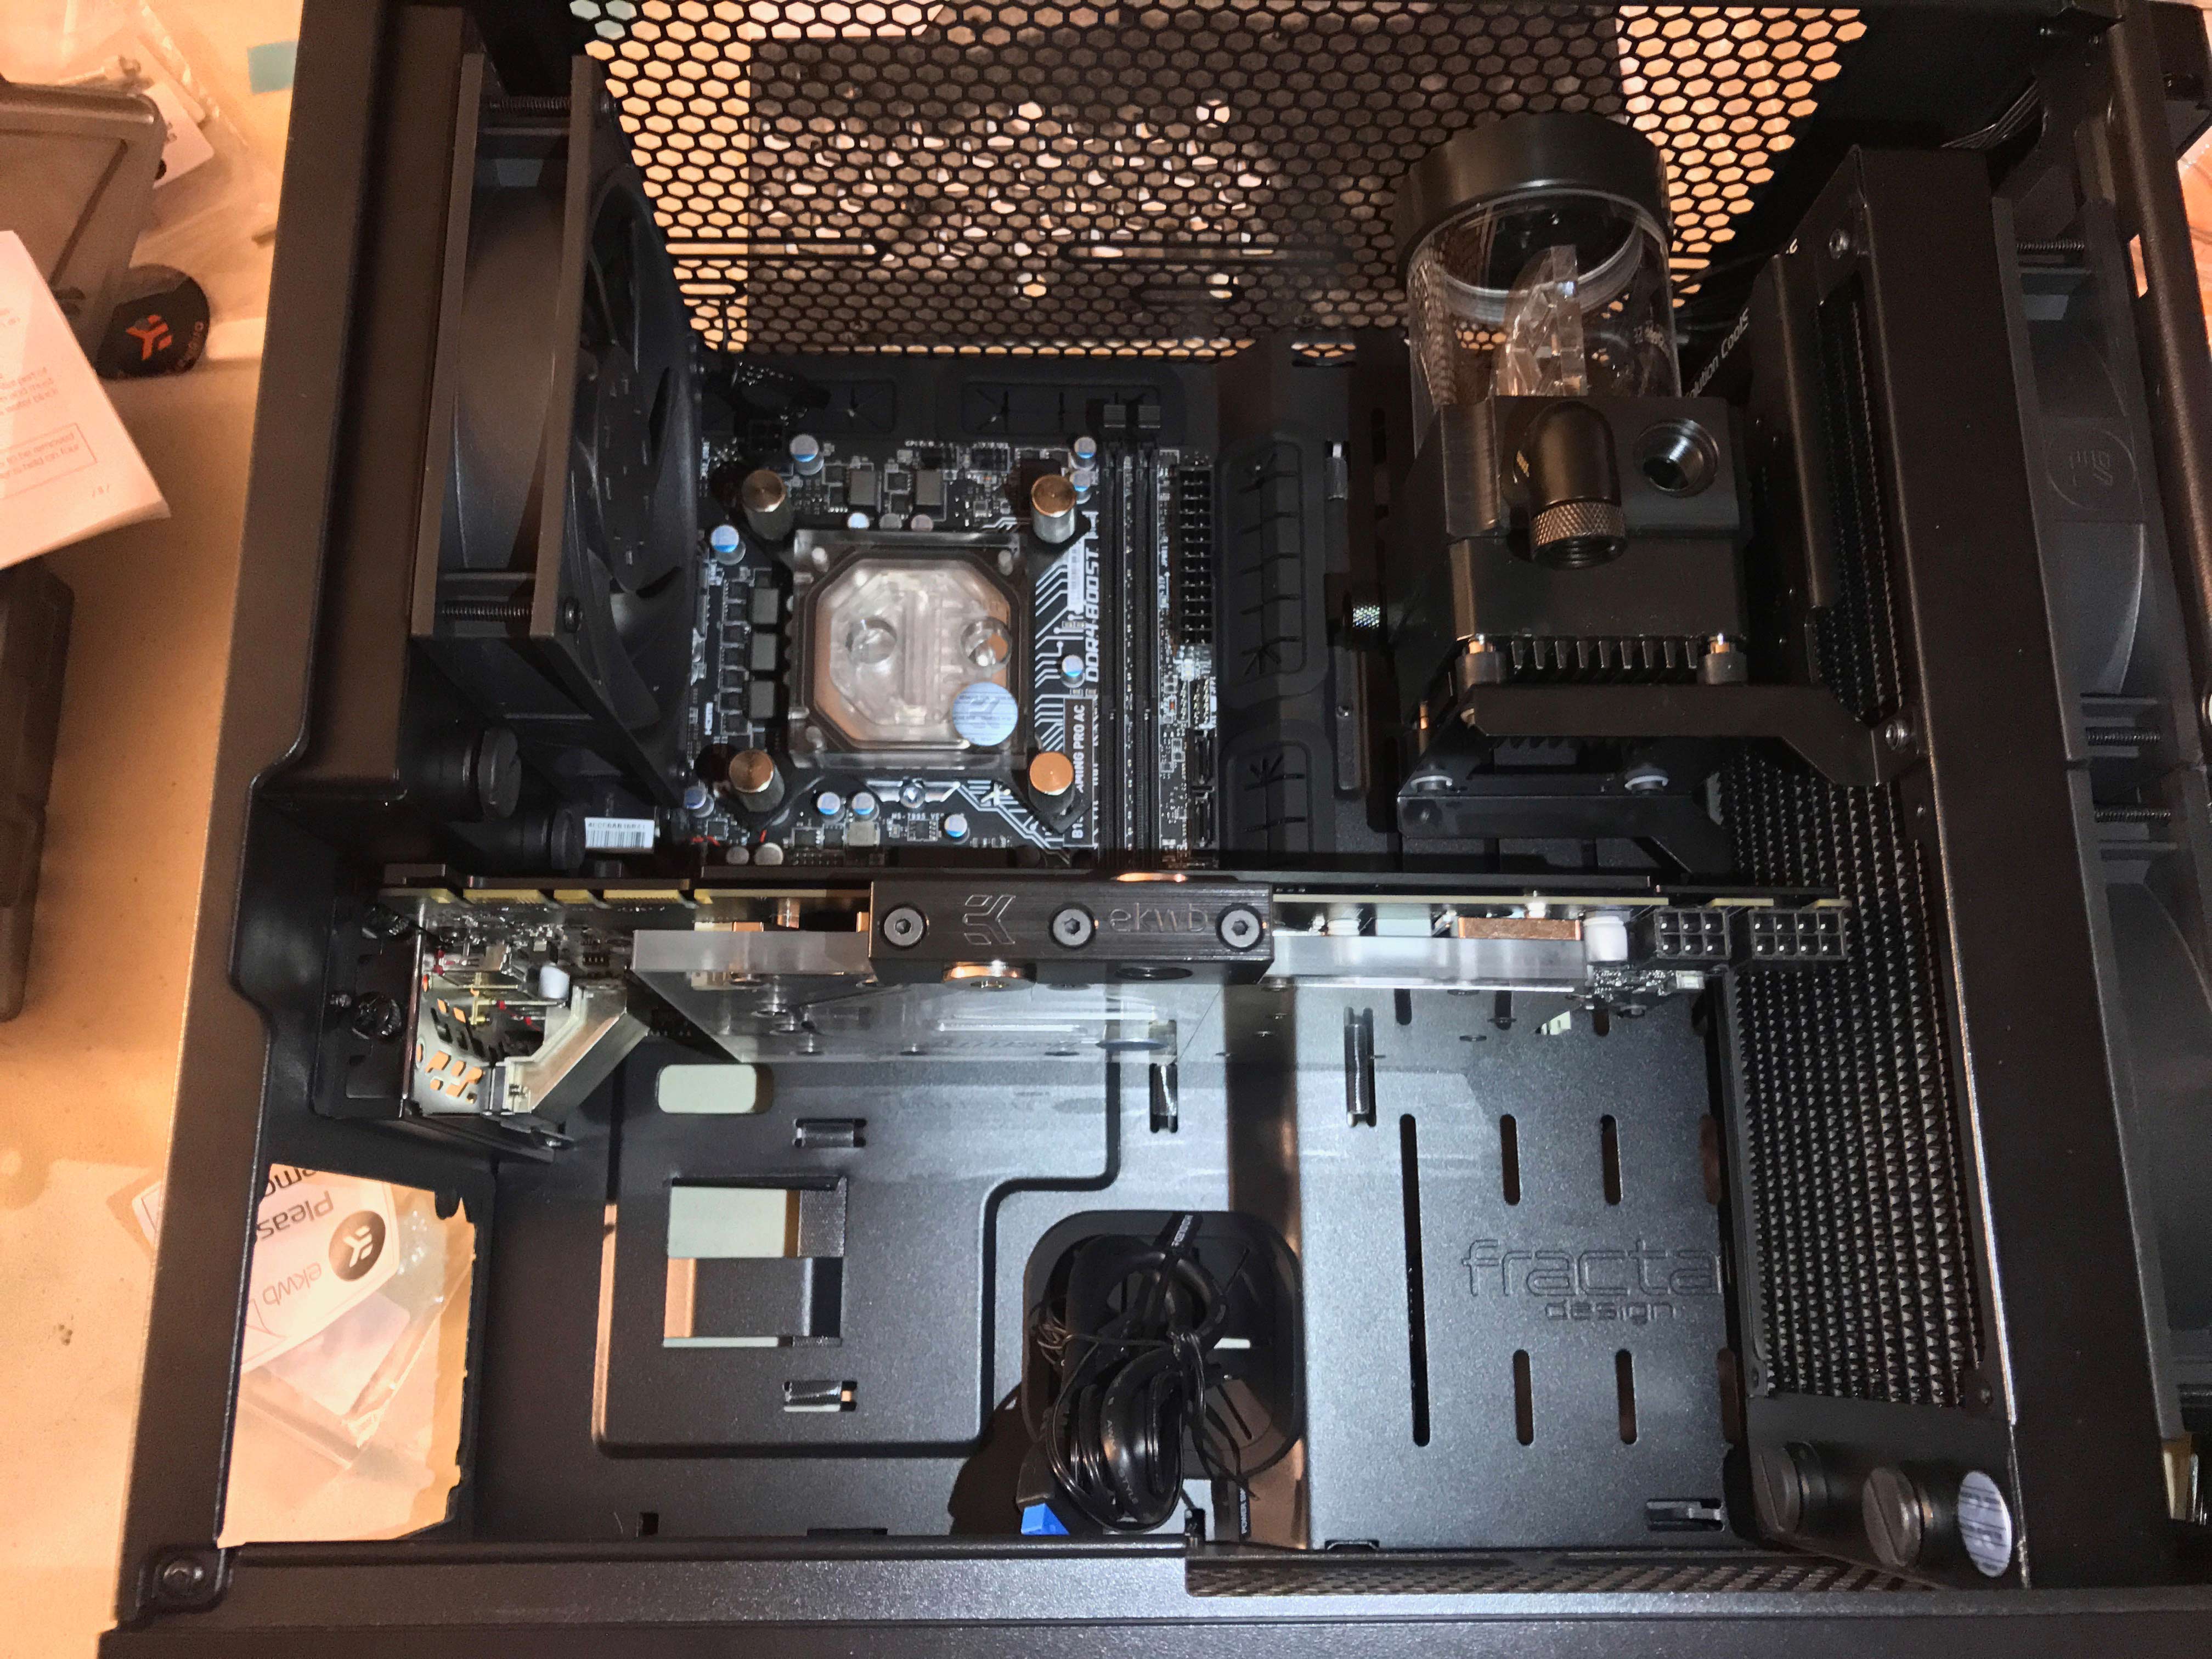
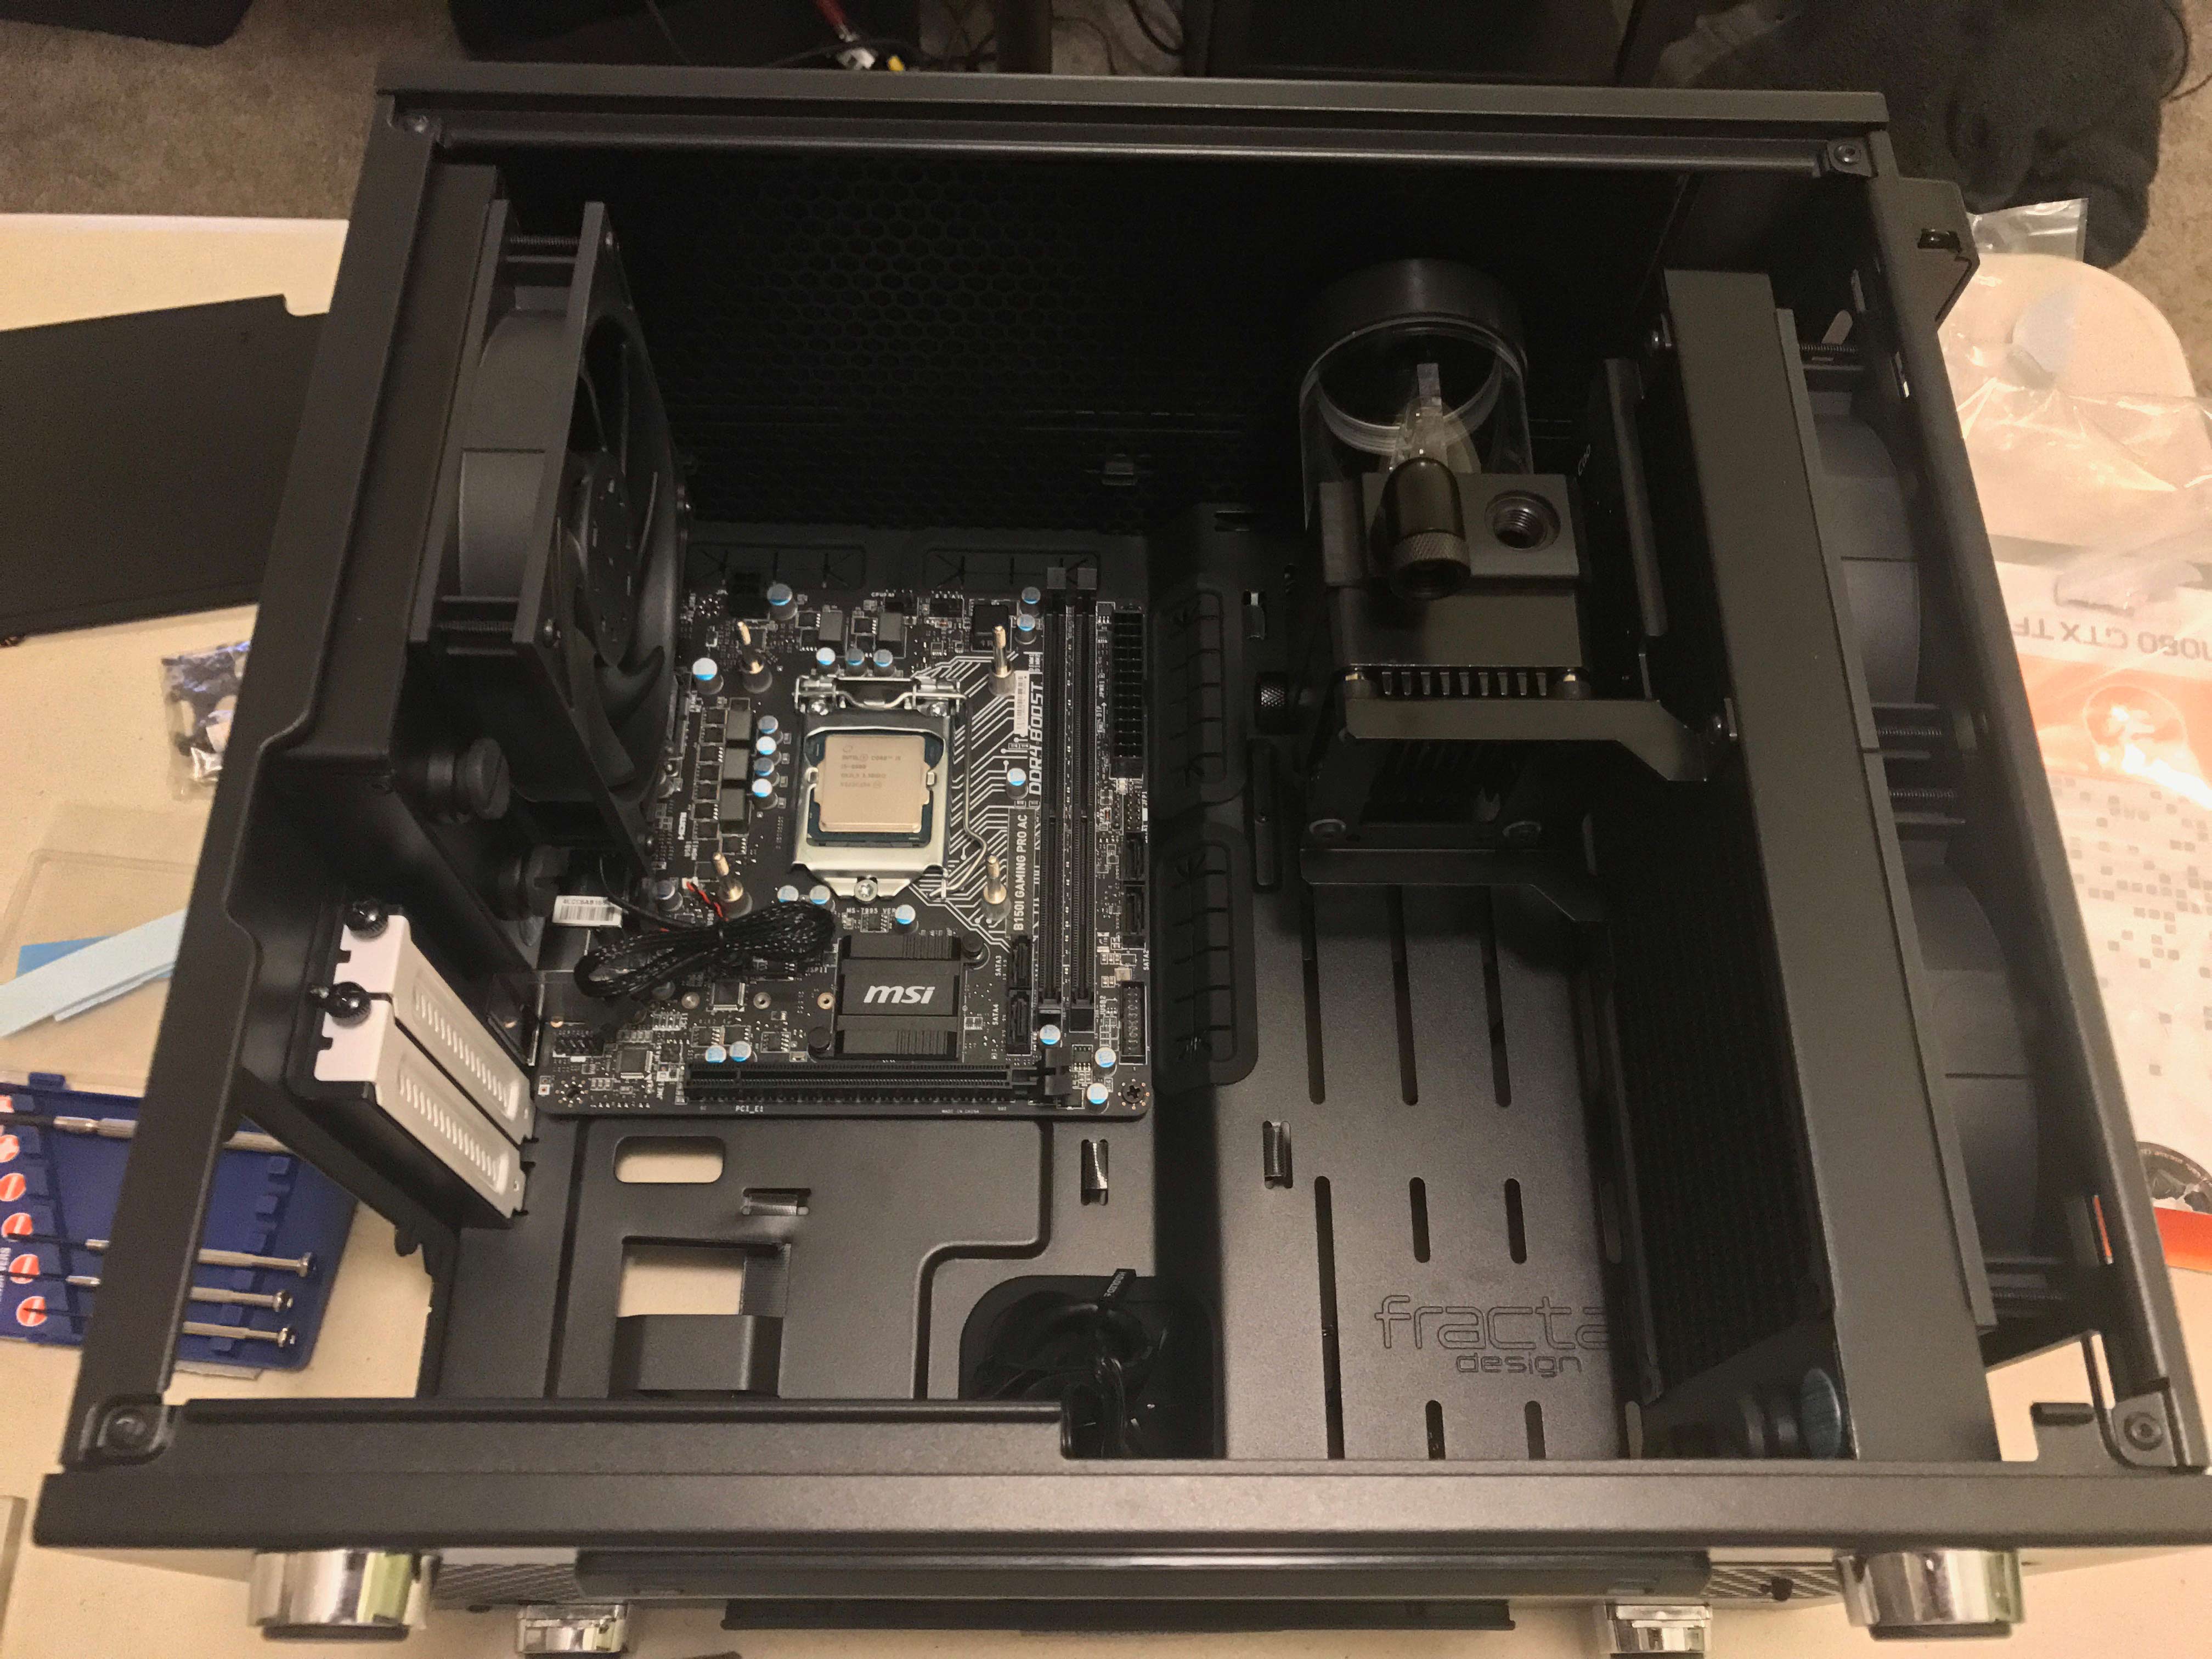
It's starting to look like a computer again.
Everything fits in perfectly and none of the parts are touching, it's really all I could ask for. Sadly I have admit the build itself is going to be put on hold for awhile for two main reasons
- My friend who was helping my had to move up the coast and I don't have enough hands to do some of the work.
- The pump leaks and I can't afford to kill any of my parts stress testing the system.
Due to the complexity of the hardline tube, which got installed but there aren't any pictures, and the fact that I can't do this alone I will likely be switching to soft tubing to complete the build. It'll probably be done sometime in early June, so keep an eye out!